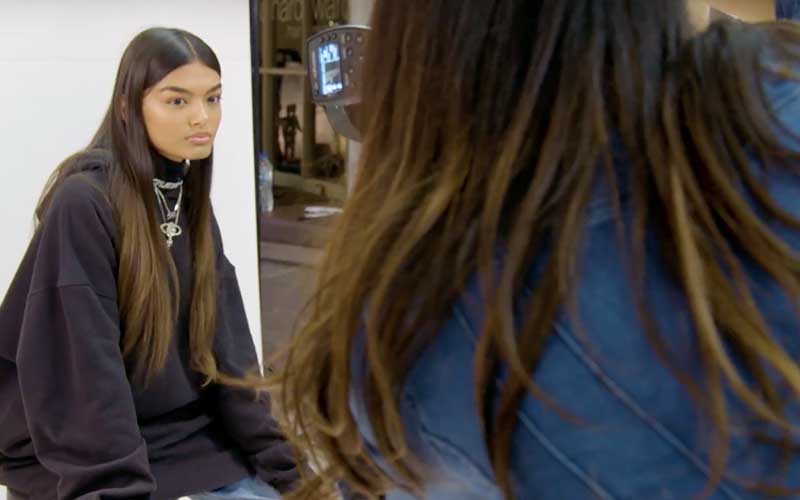
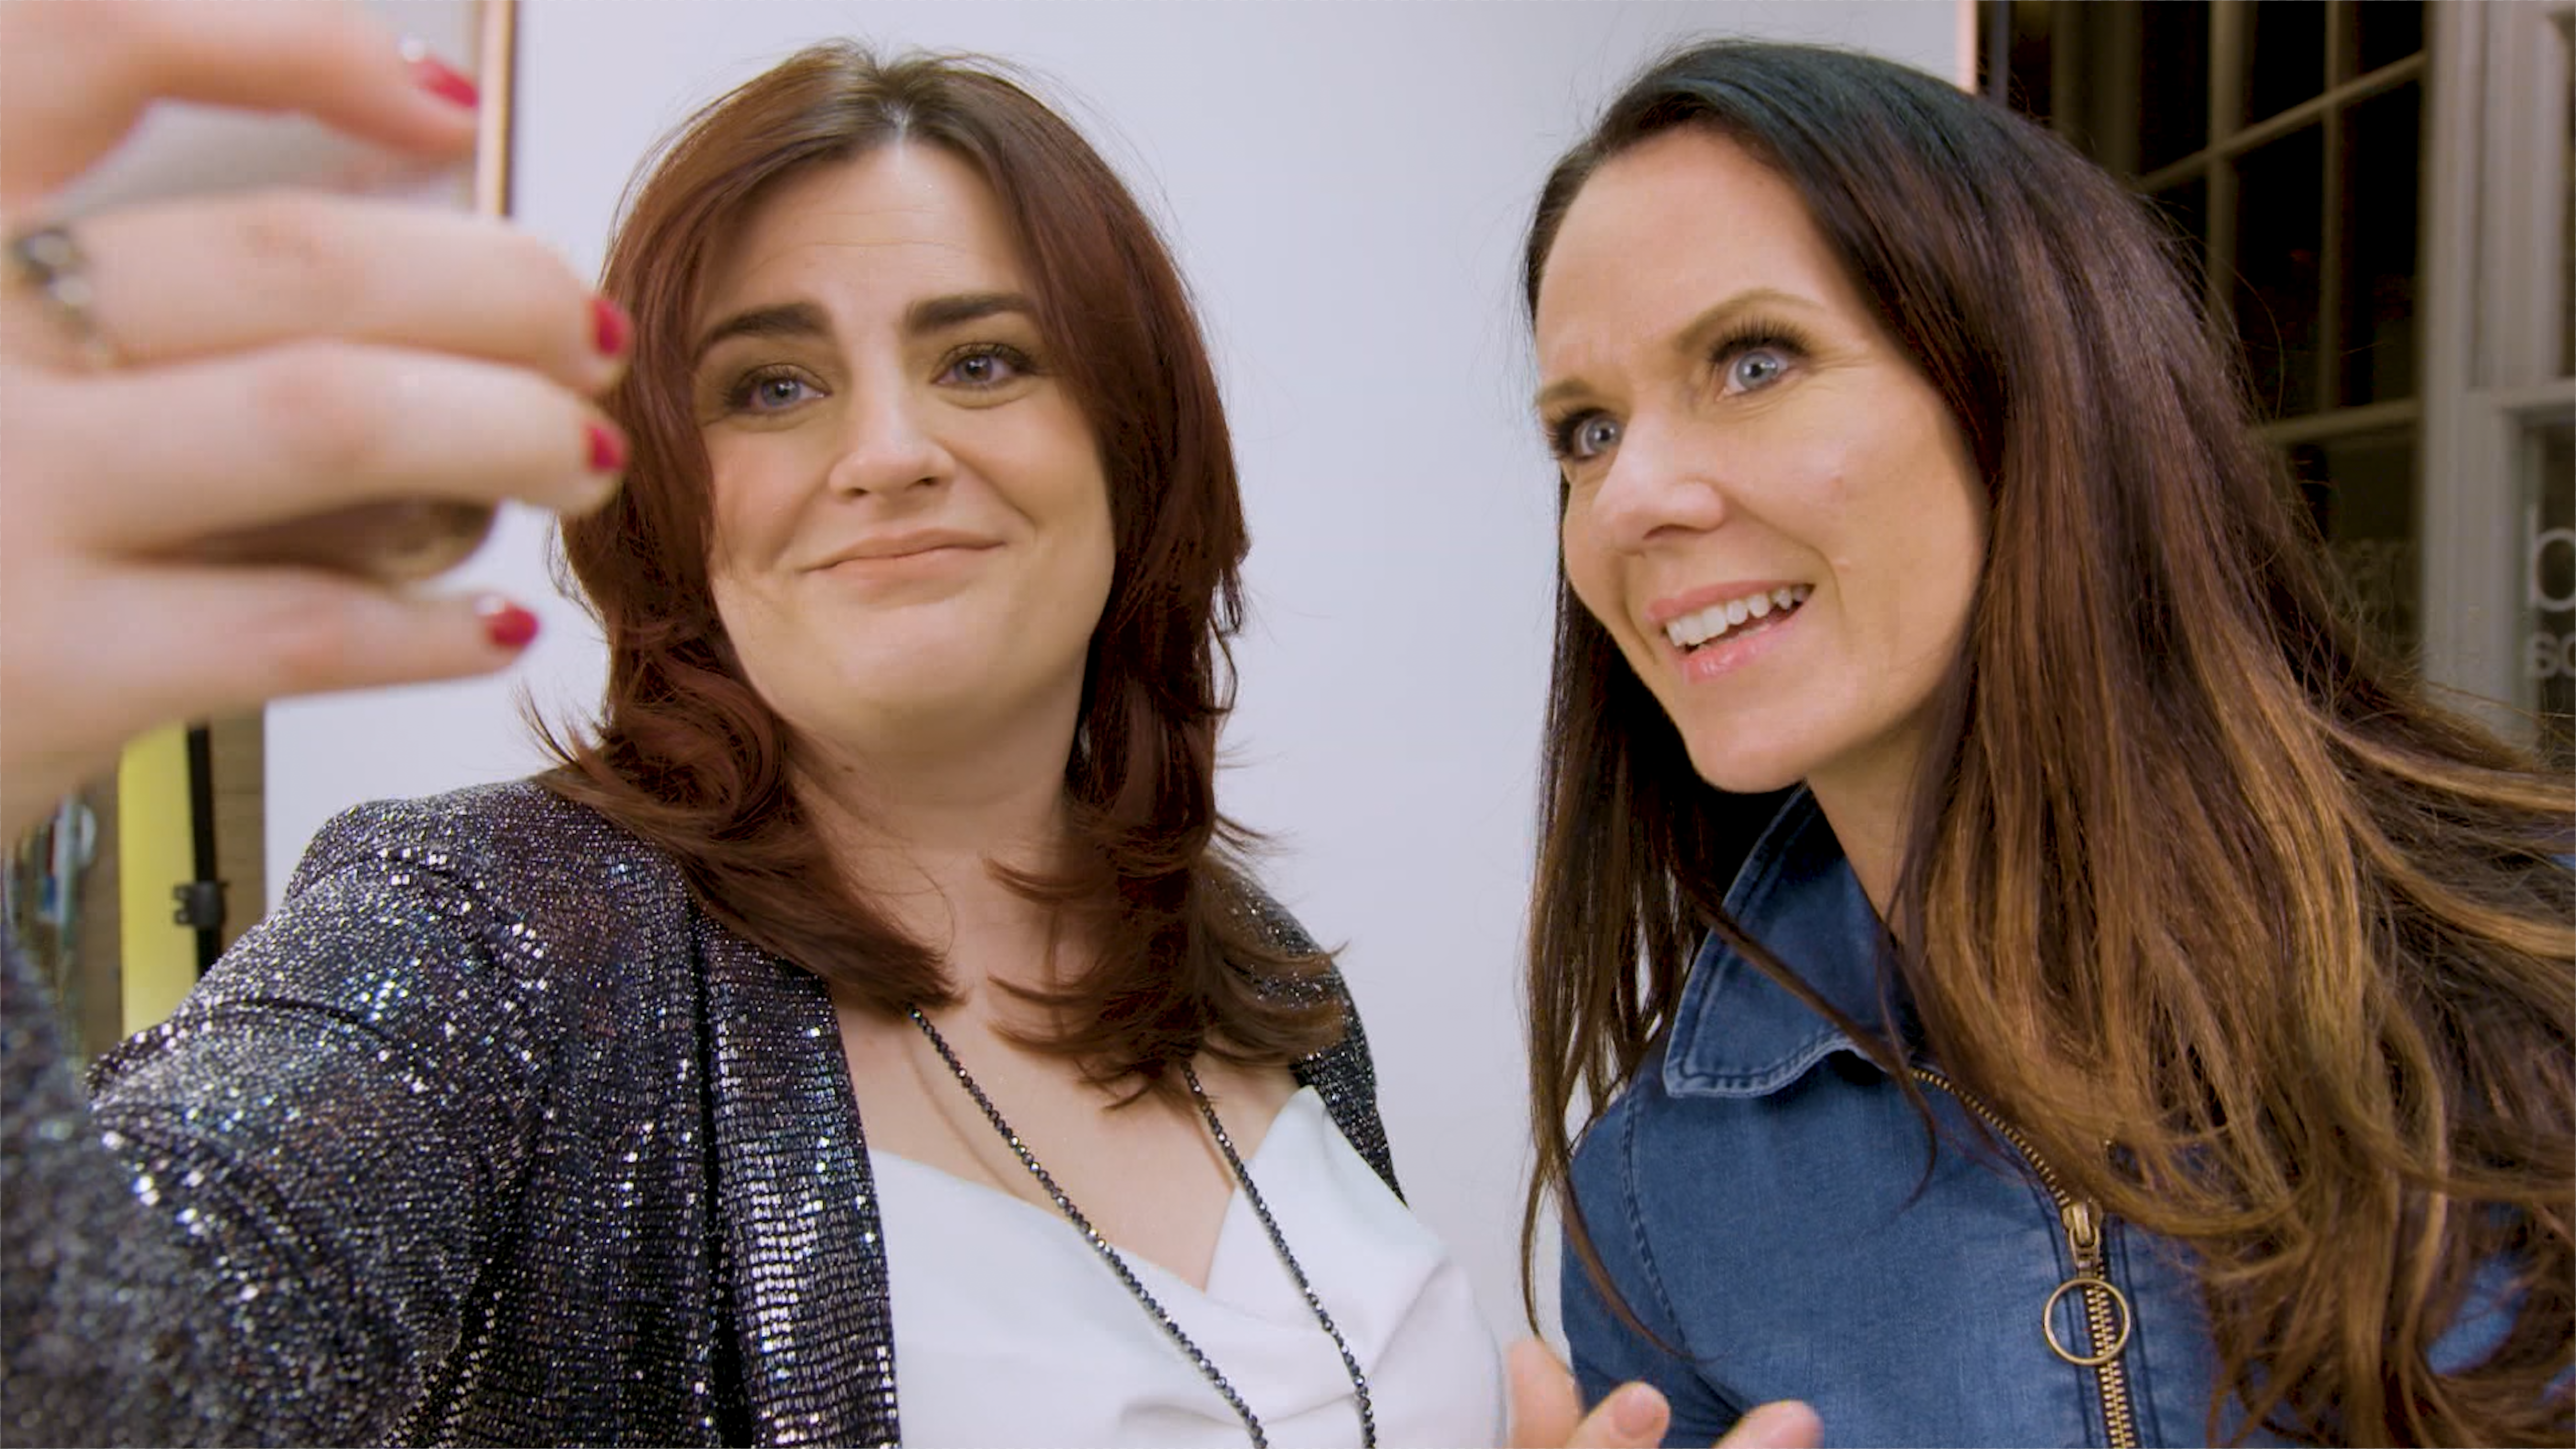
HOW TO TAKE THE BEST SELFIE

BY TOP PHOTOGRAPHER
ABBY COHEN
Lights, camera, Selfie. Here are my top tips for on how to take a professional looking profile pic, below:
Abby’s Photo Tips
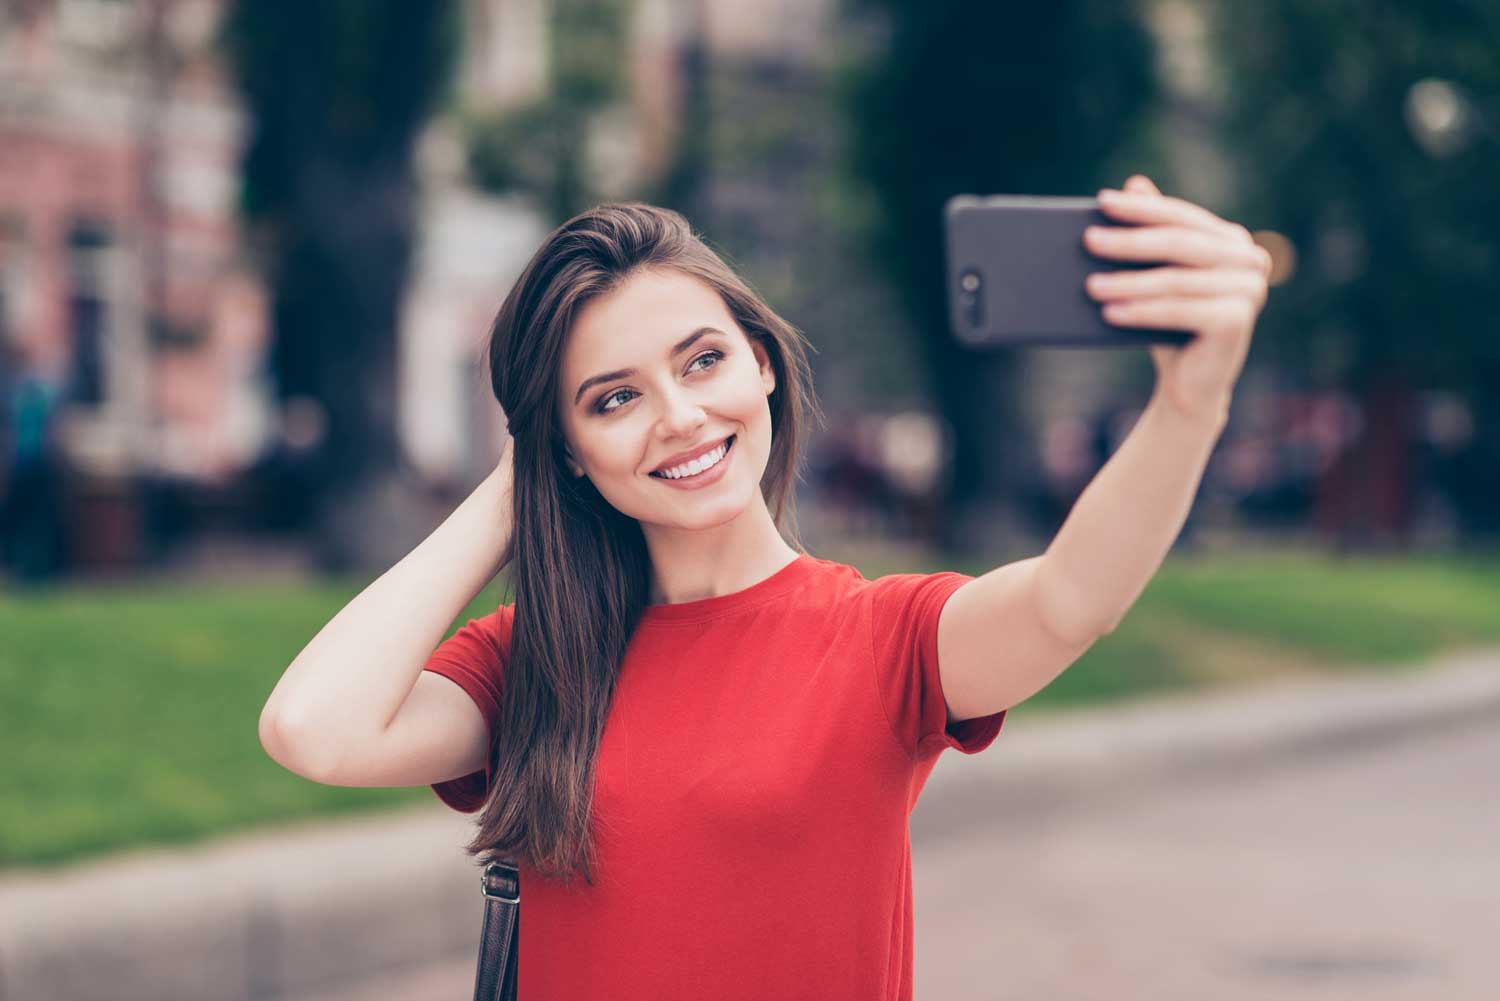
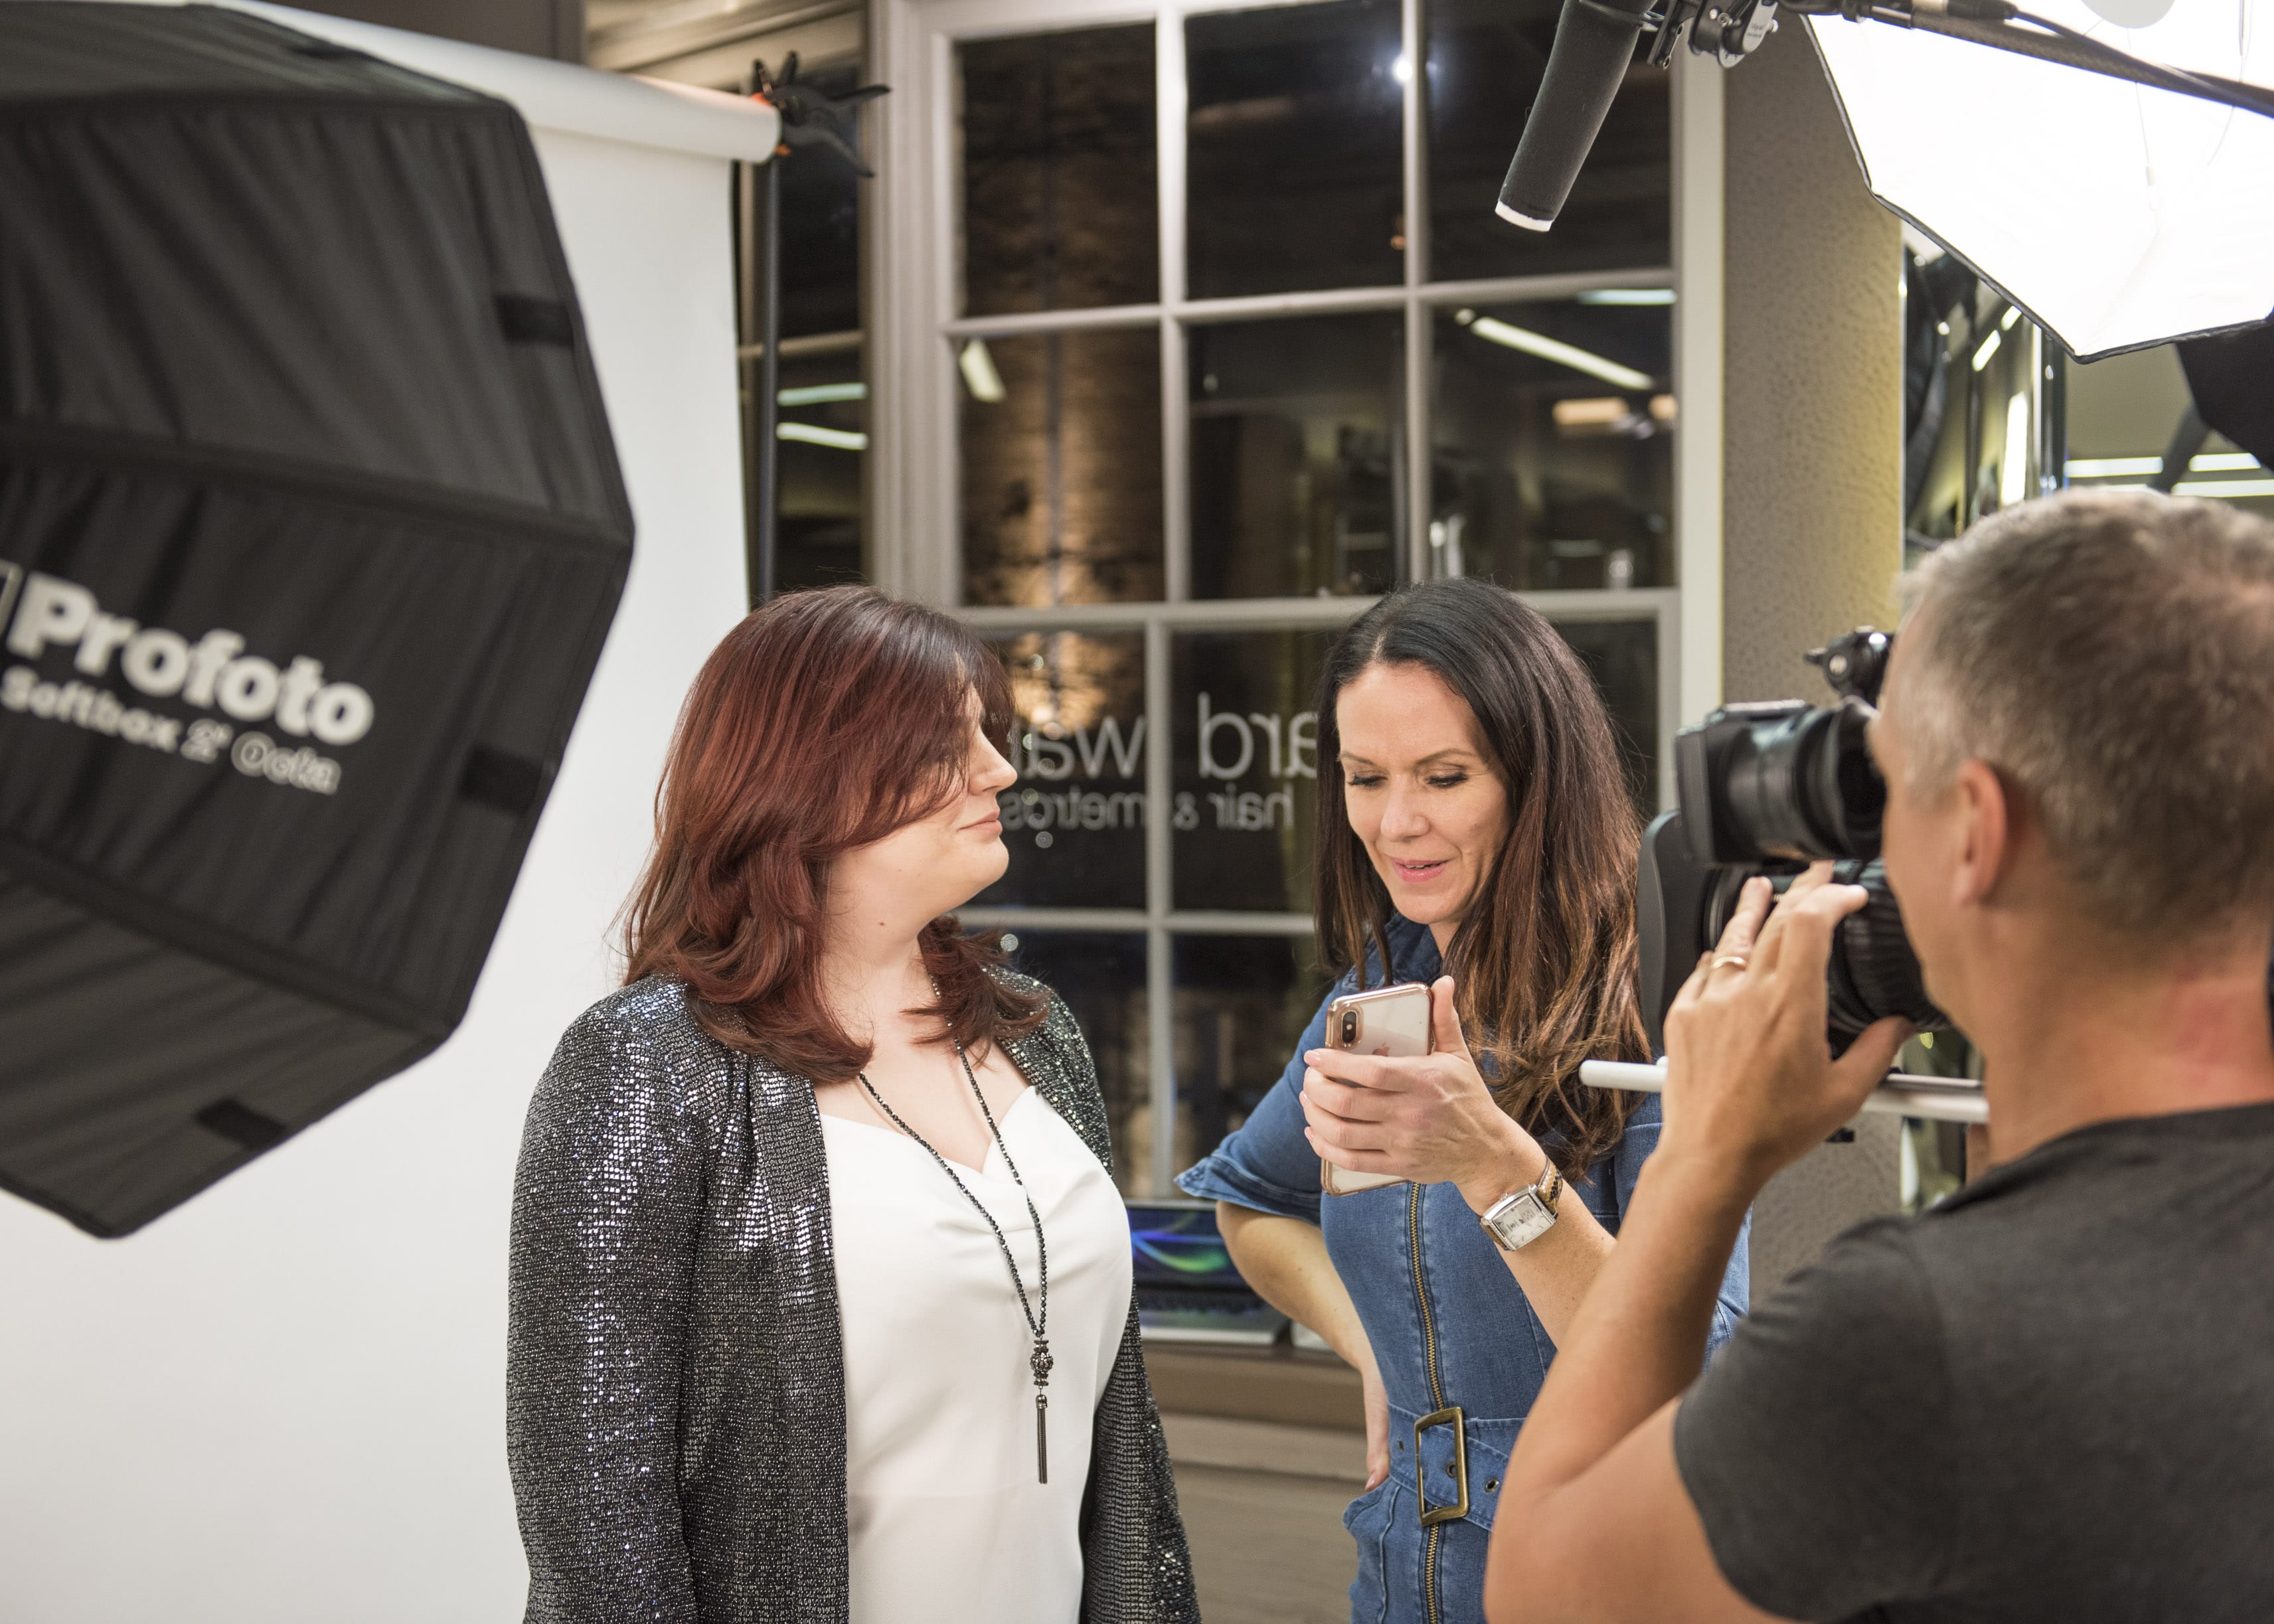
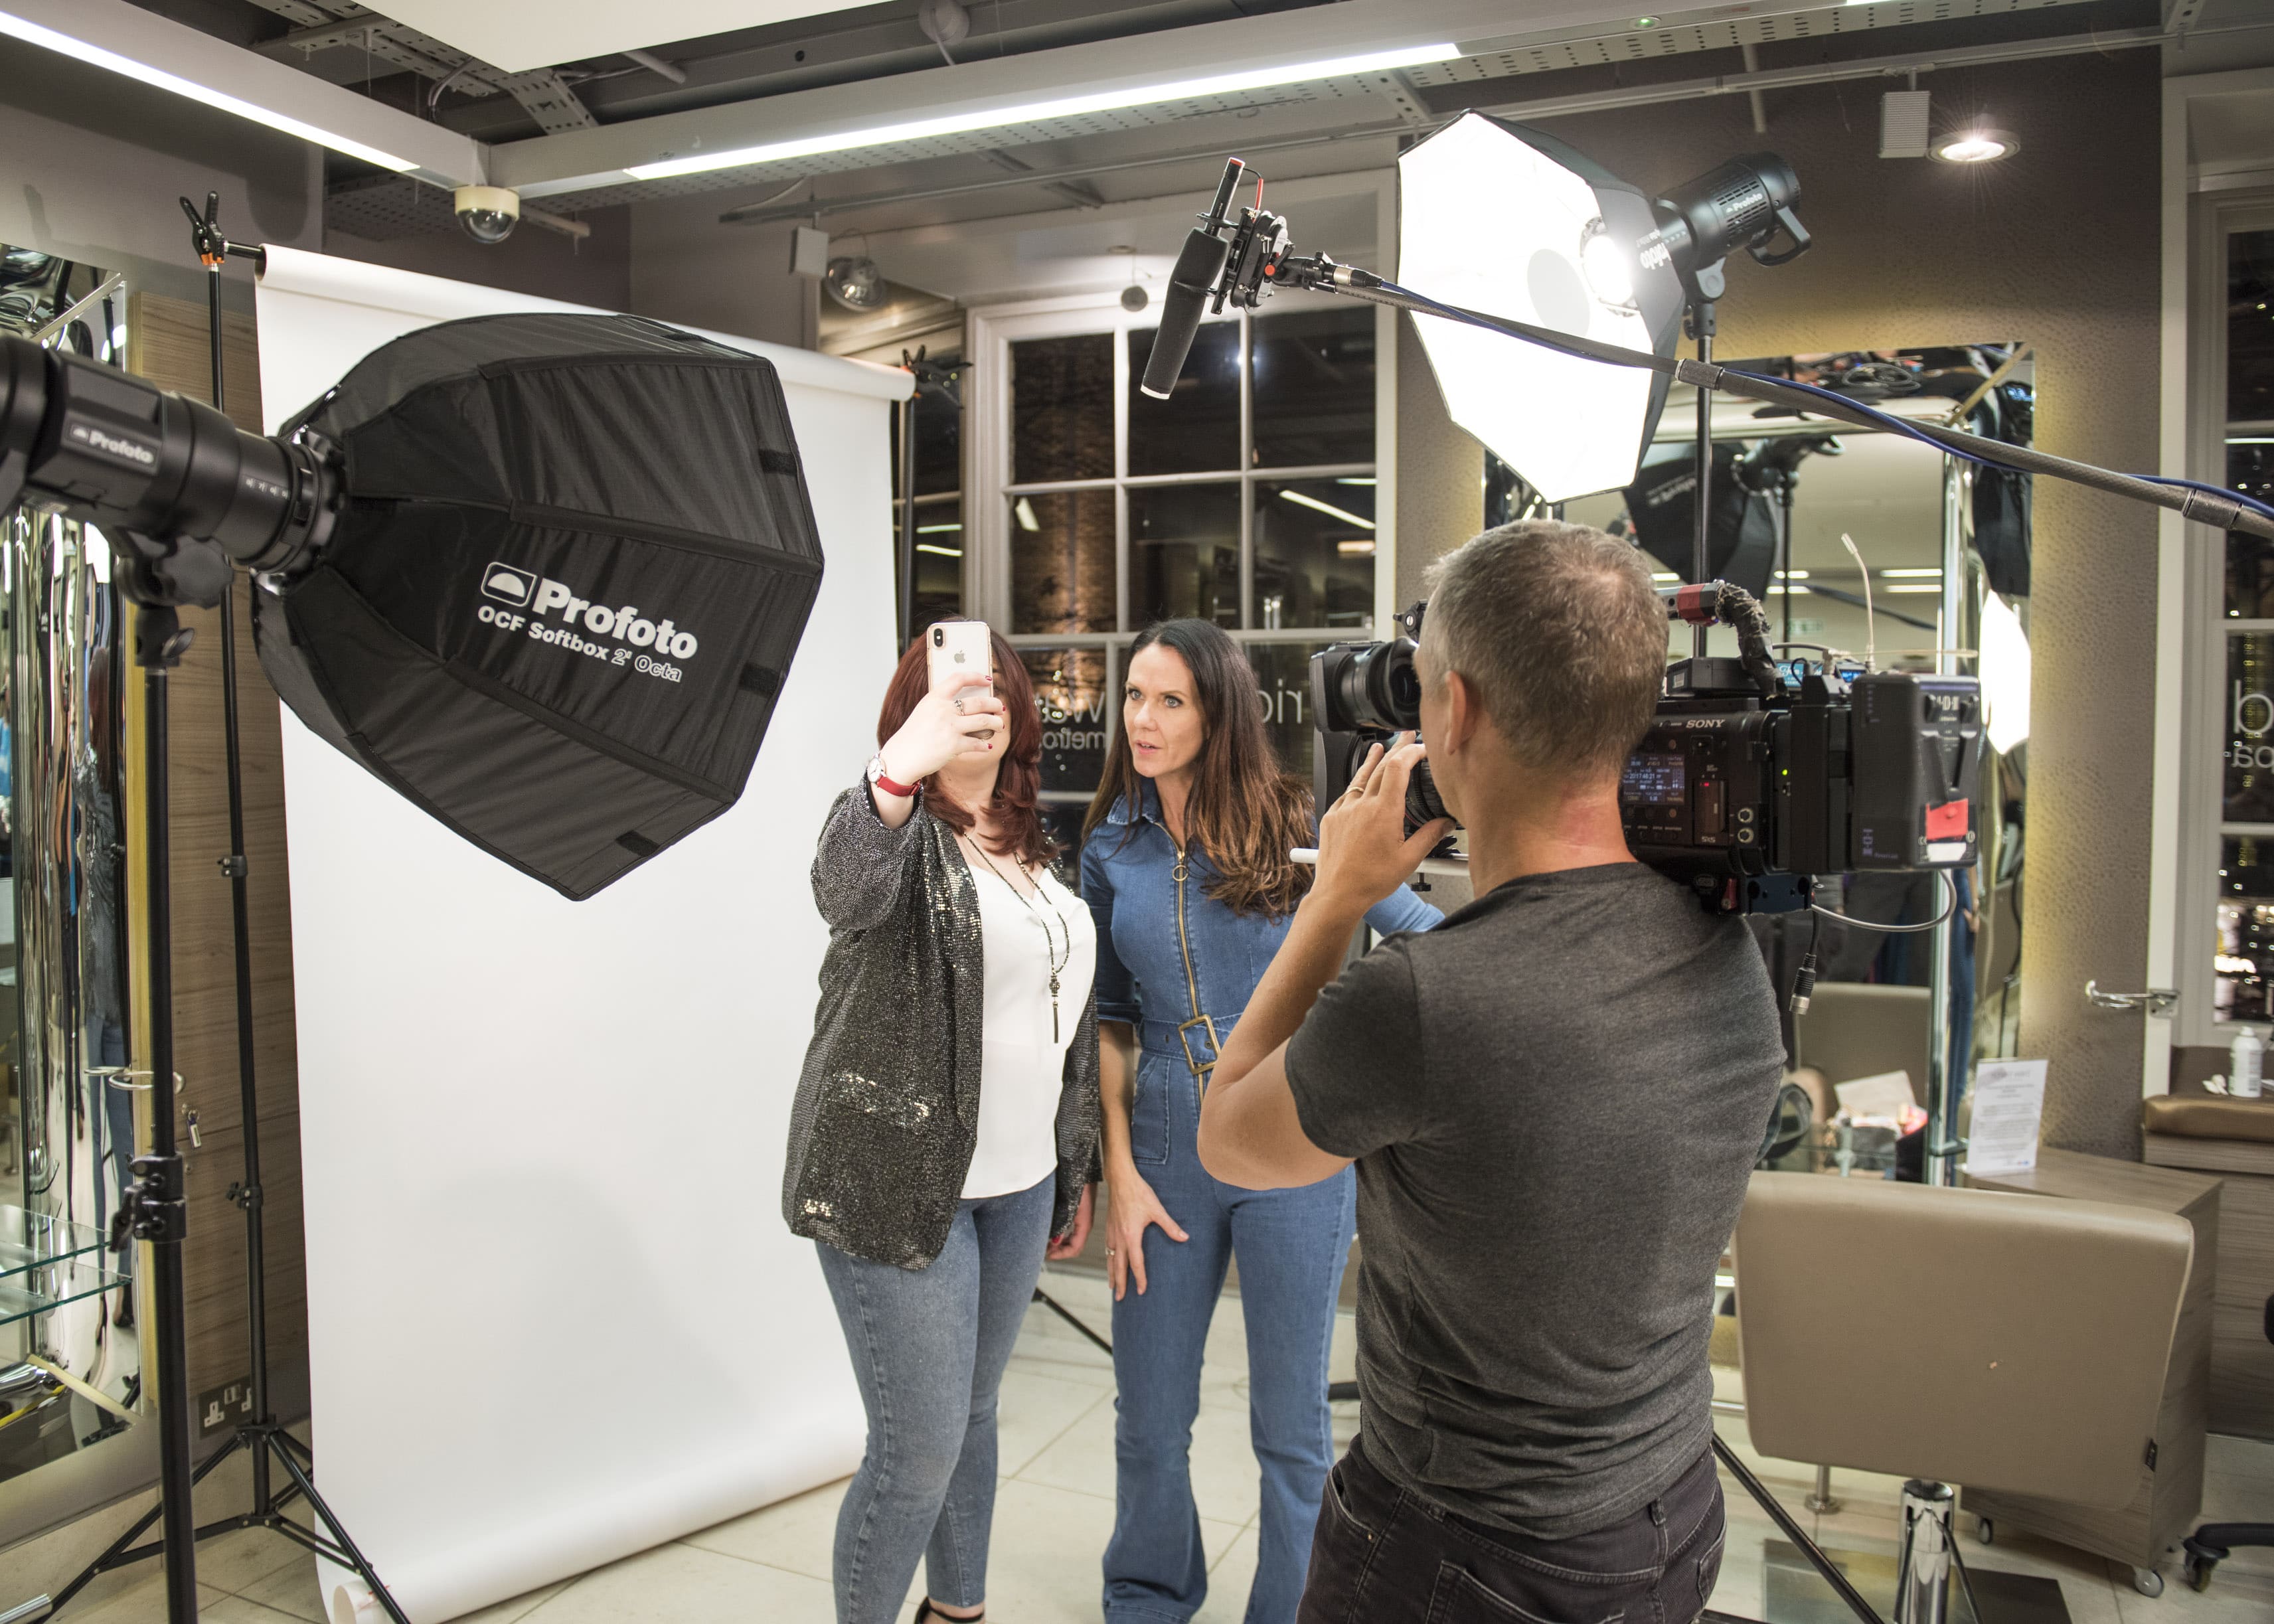
There’s an art to taking the perfect selfie. Pro photographer, Abby, tells you how to take a flattering shot.
1. GET THE LIGHT RIGHT
Sometimes the phone camera lets too much light in and over exposes the subject. Tap on your face on the screen to make sure you’re the subject of the picture, not the rest of the room. You can slide your tapping finger up and down to adjust the exposure levels (raising and lowering the brightness) until you’re happy.
As with any photograph, you’ll get the best results if the light source is behind the camera – although in direct sunlight it’s often better to stand at an angle so you’re not squinting into the sun. No matter what the conditions, avoid unwanted light sources such as reflective surfaces.
2. FOCUS ON YOU
If you move the camera around it may decide to focus on something else, which isn’t ideal. To lock the exposure, press and hold on the part of screen you’re in until the letters AE/AF Lock appear. You can now wave the phone around to your heart’s content and the focus and exposure levels will stay locked until you tap the screen again. This works in both Samsung and Apple phones and it’s particularly handy if you’re moving and don’t want the camera to lock onto something else
3. IN A FLASH
If you’re shooting selfies in low light you can use the screen as a flash, for example on the Samsung S7. Just tap the flash icon and choose ‘on’.
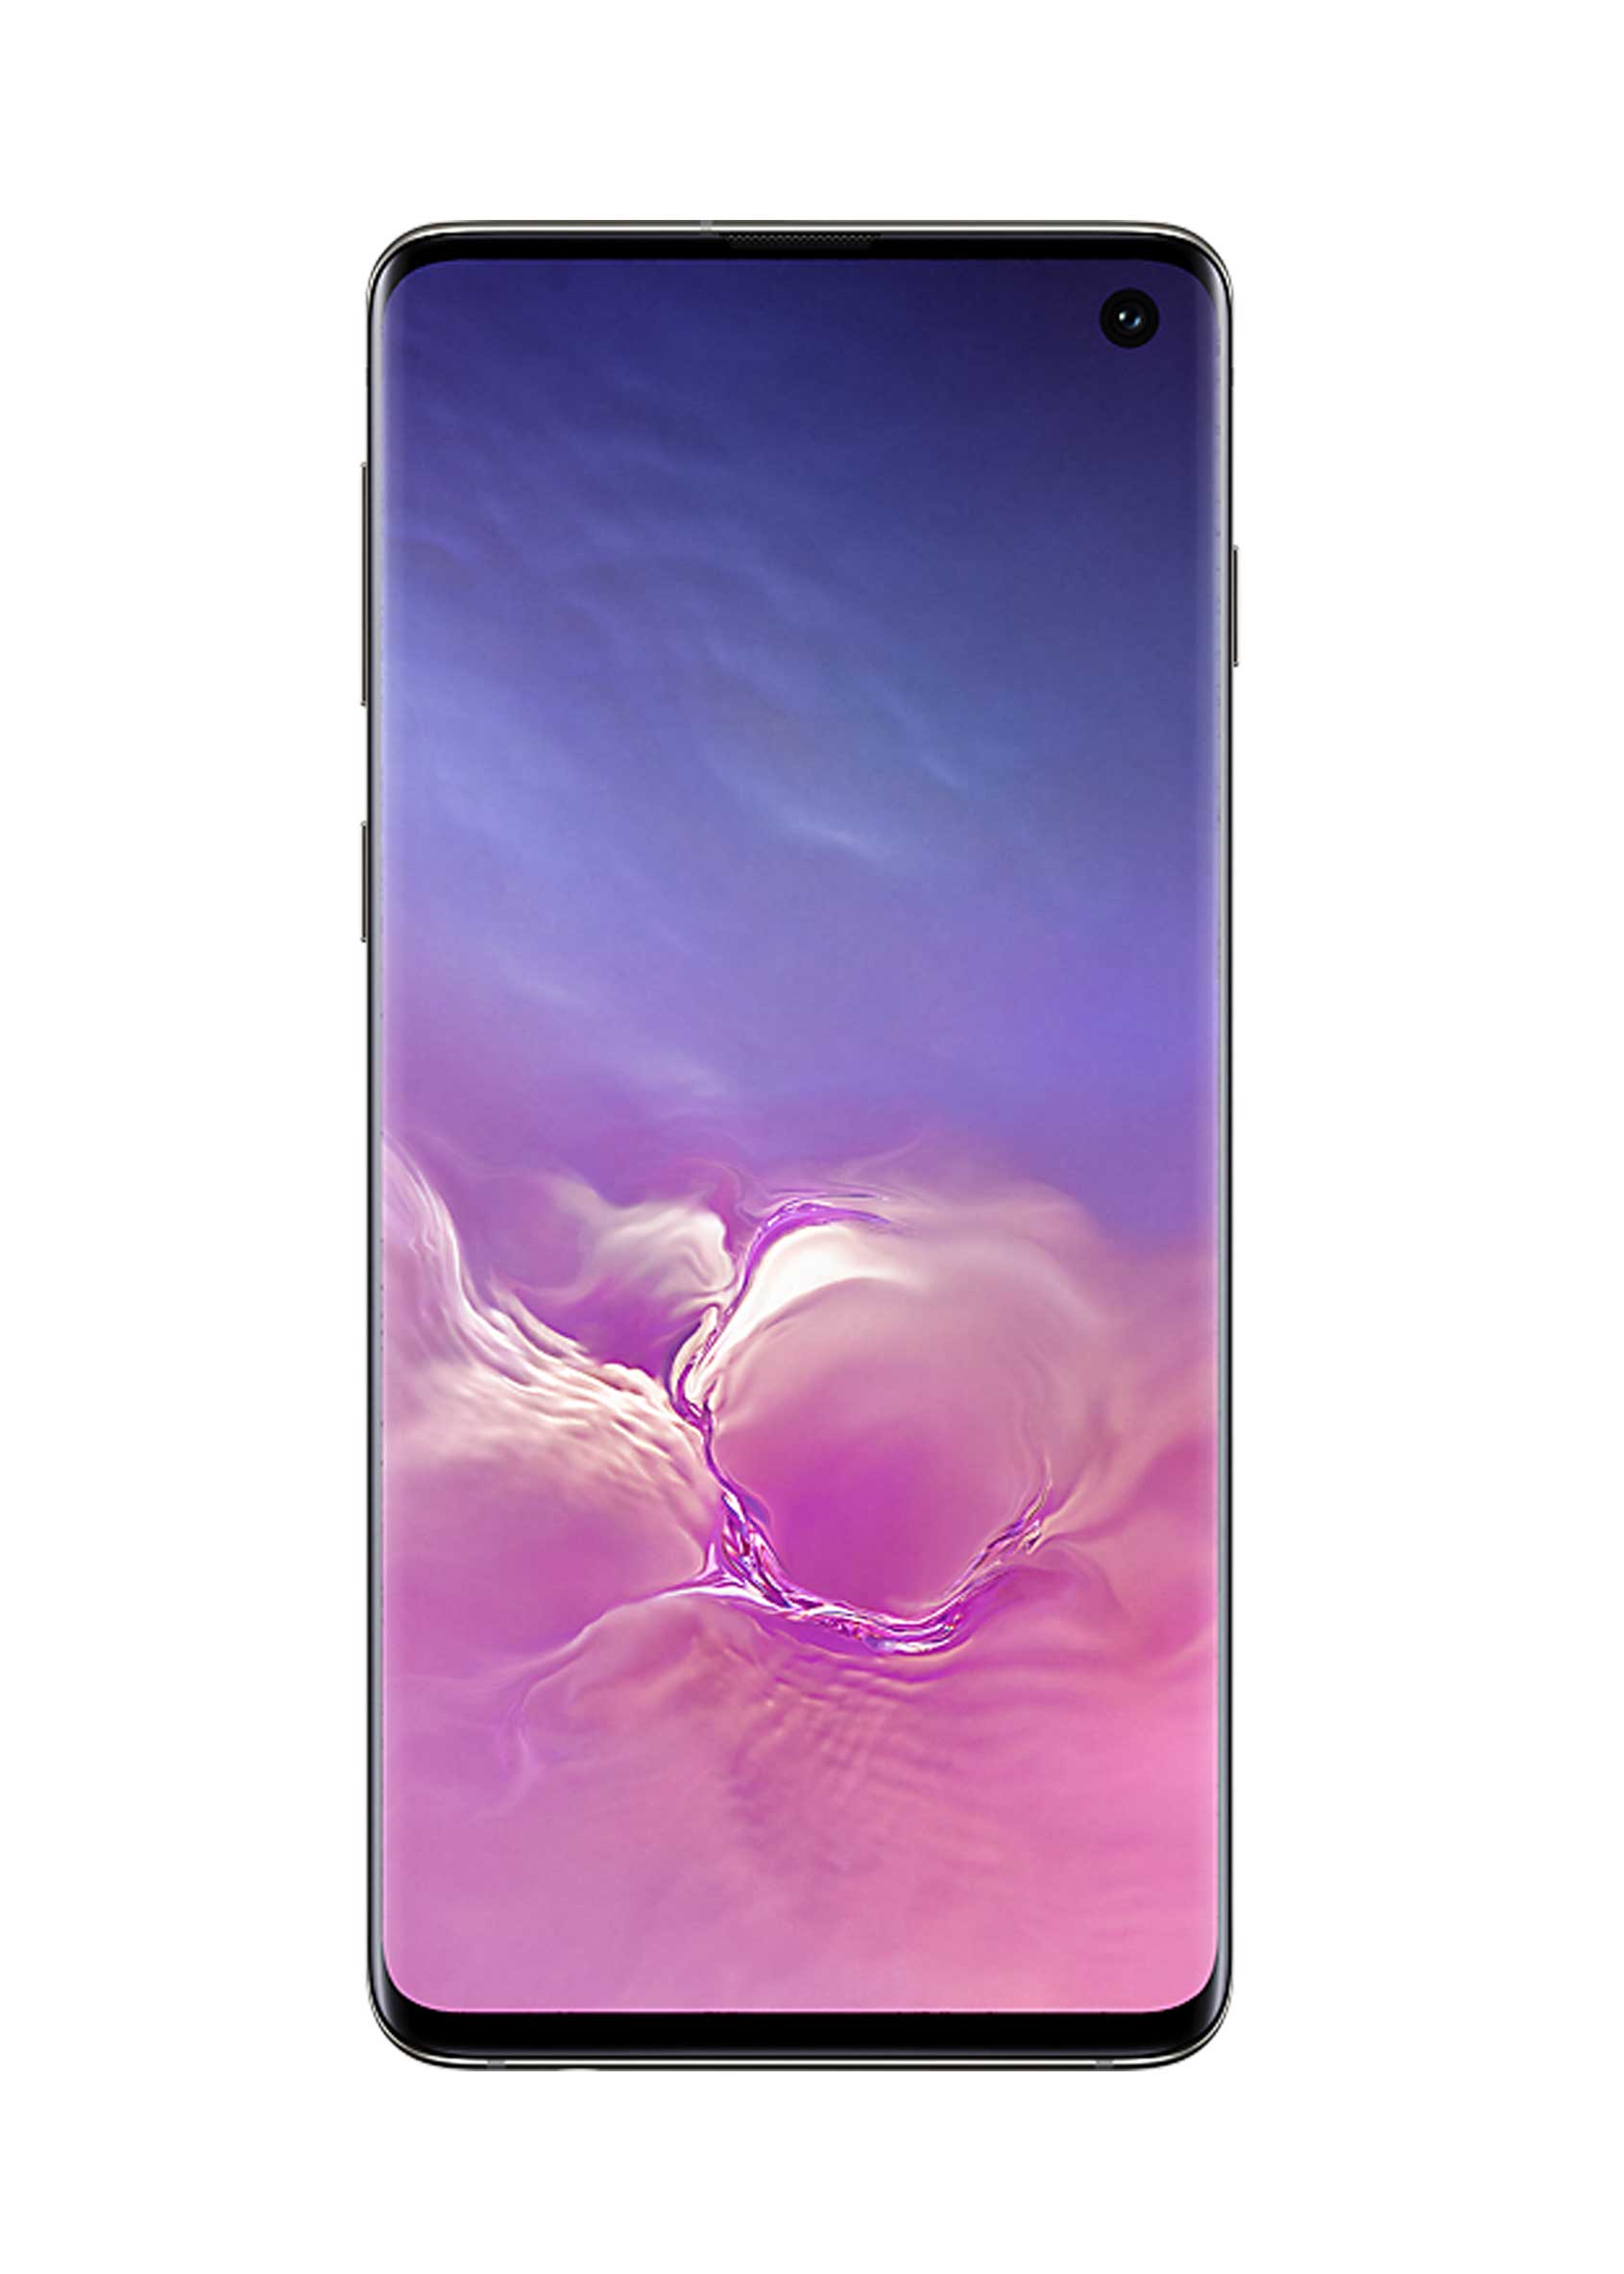
It’s technically very clever as it analyses the ambient light to find the right tone for the screen so you won’t look washed-alternatively, the new Samsung S10 features a dedicated, smart front camera flash. While they are helpful features they can only do so much in very low light, it’s still often better to move somewhere more brightly lit rather than expecting the flash to work miracles.
4. SMART PORTRAIT
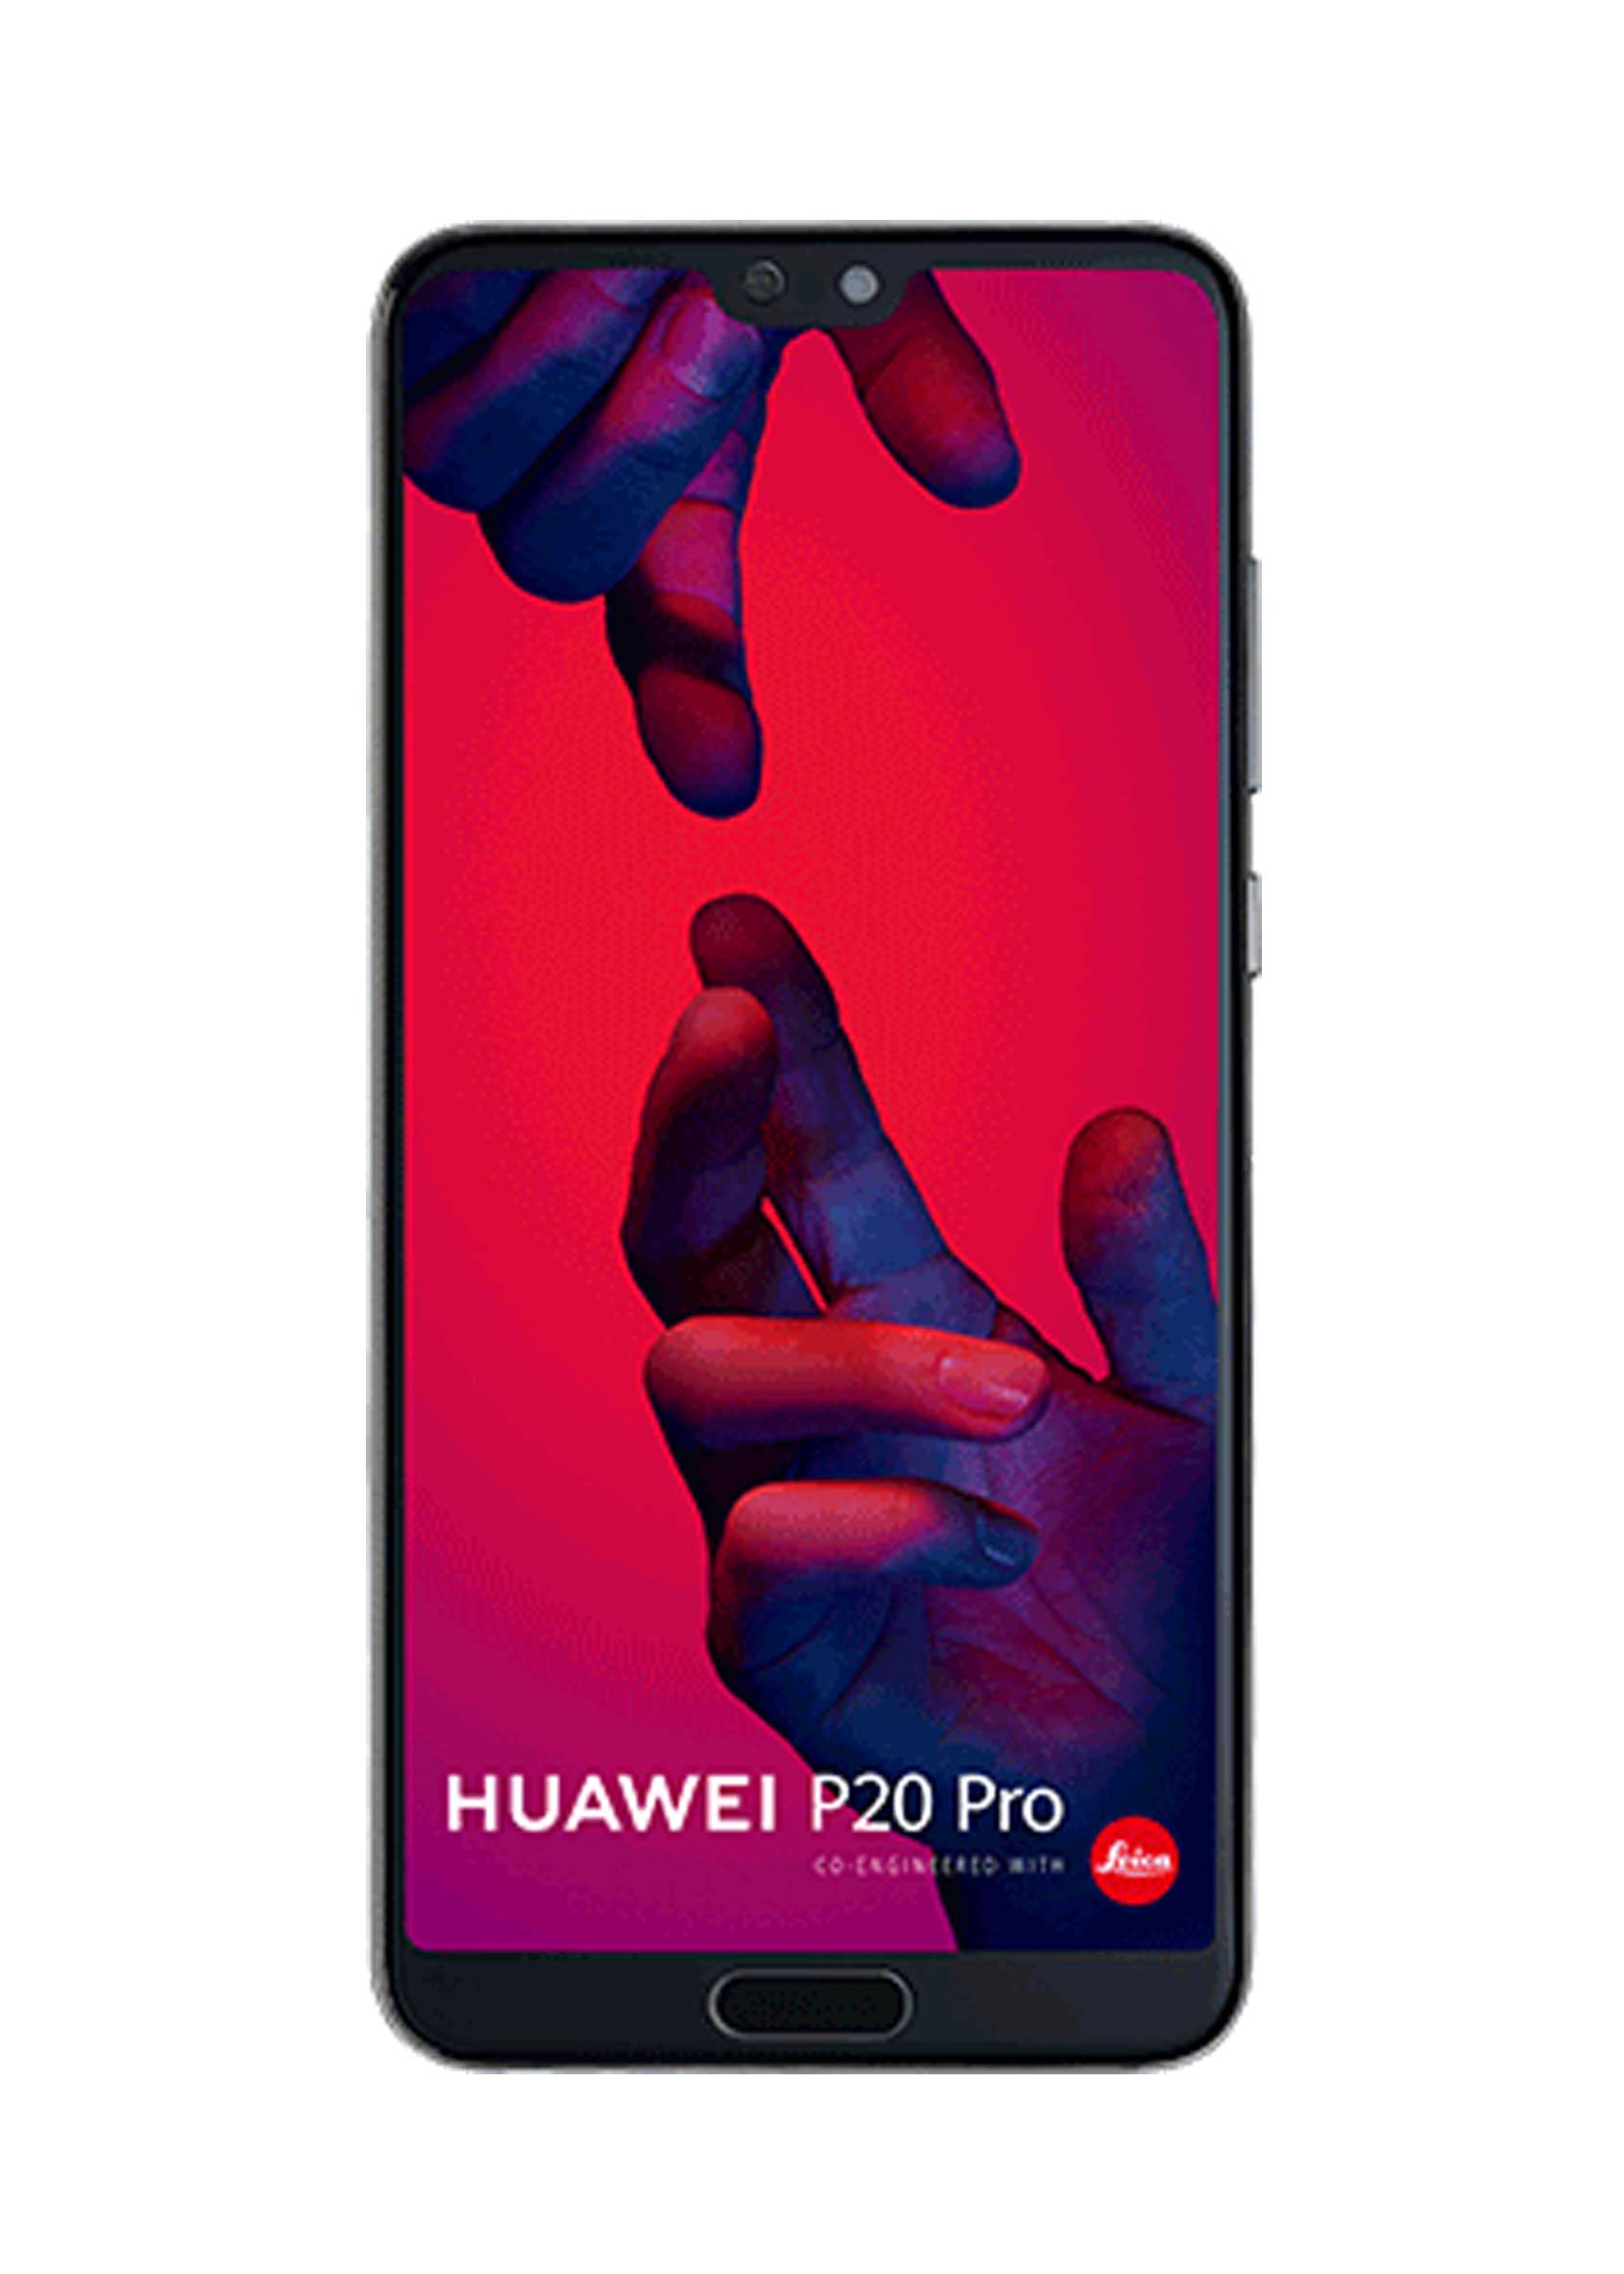
If you have the Huawei P20 Pro, you have the use of two modes- the ‘Portrait’ Mode and ‘Aperture’ Mode, both can achieve a ‘studio lighting’ effect. By combining information from 2 different sensors the camera app creates pleasing blurred or bokeh backgrounds- you can even adjust the amount of blur using a slider.
As with the main camera mode, it works best in well-lit environments; it can really struggle in low light and often produces overly grainy shots or fails to focus at all. But with a good shot the results can be astonishing; it really looks like the images were taken in a studio.
5. GO LIVE
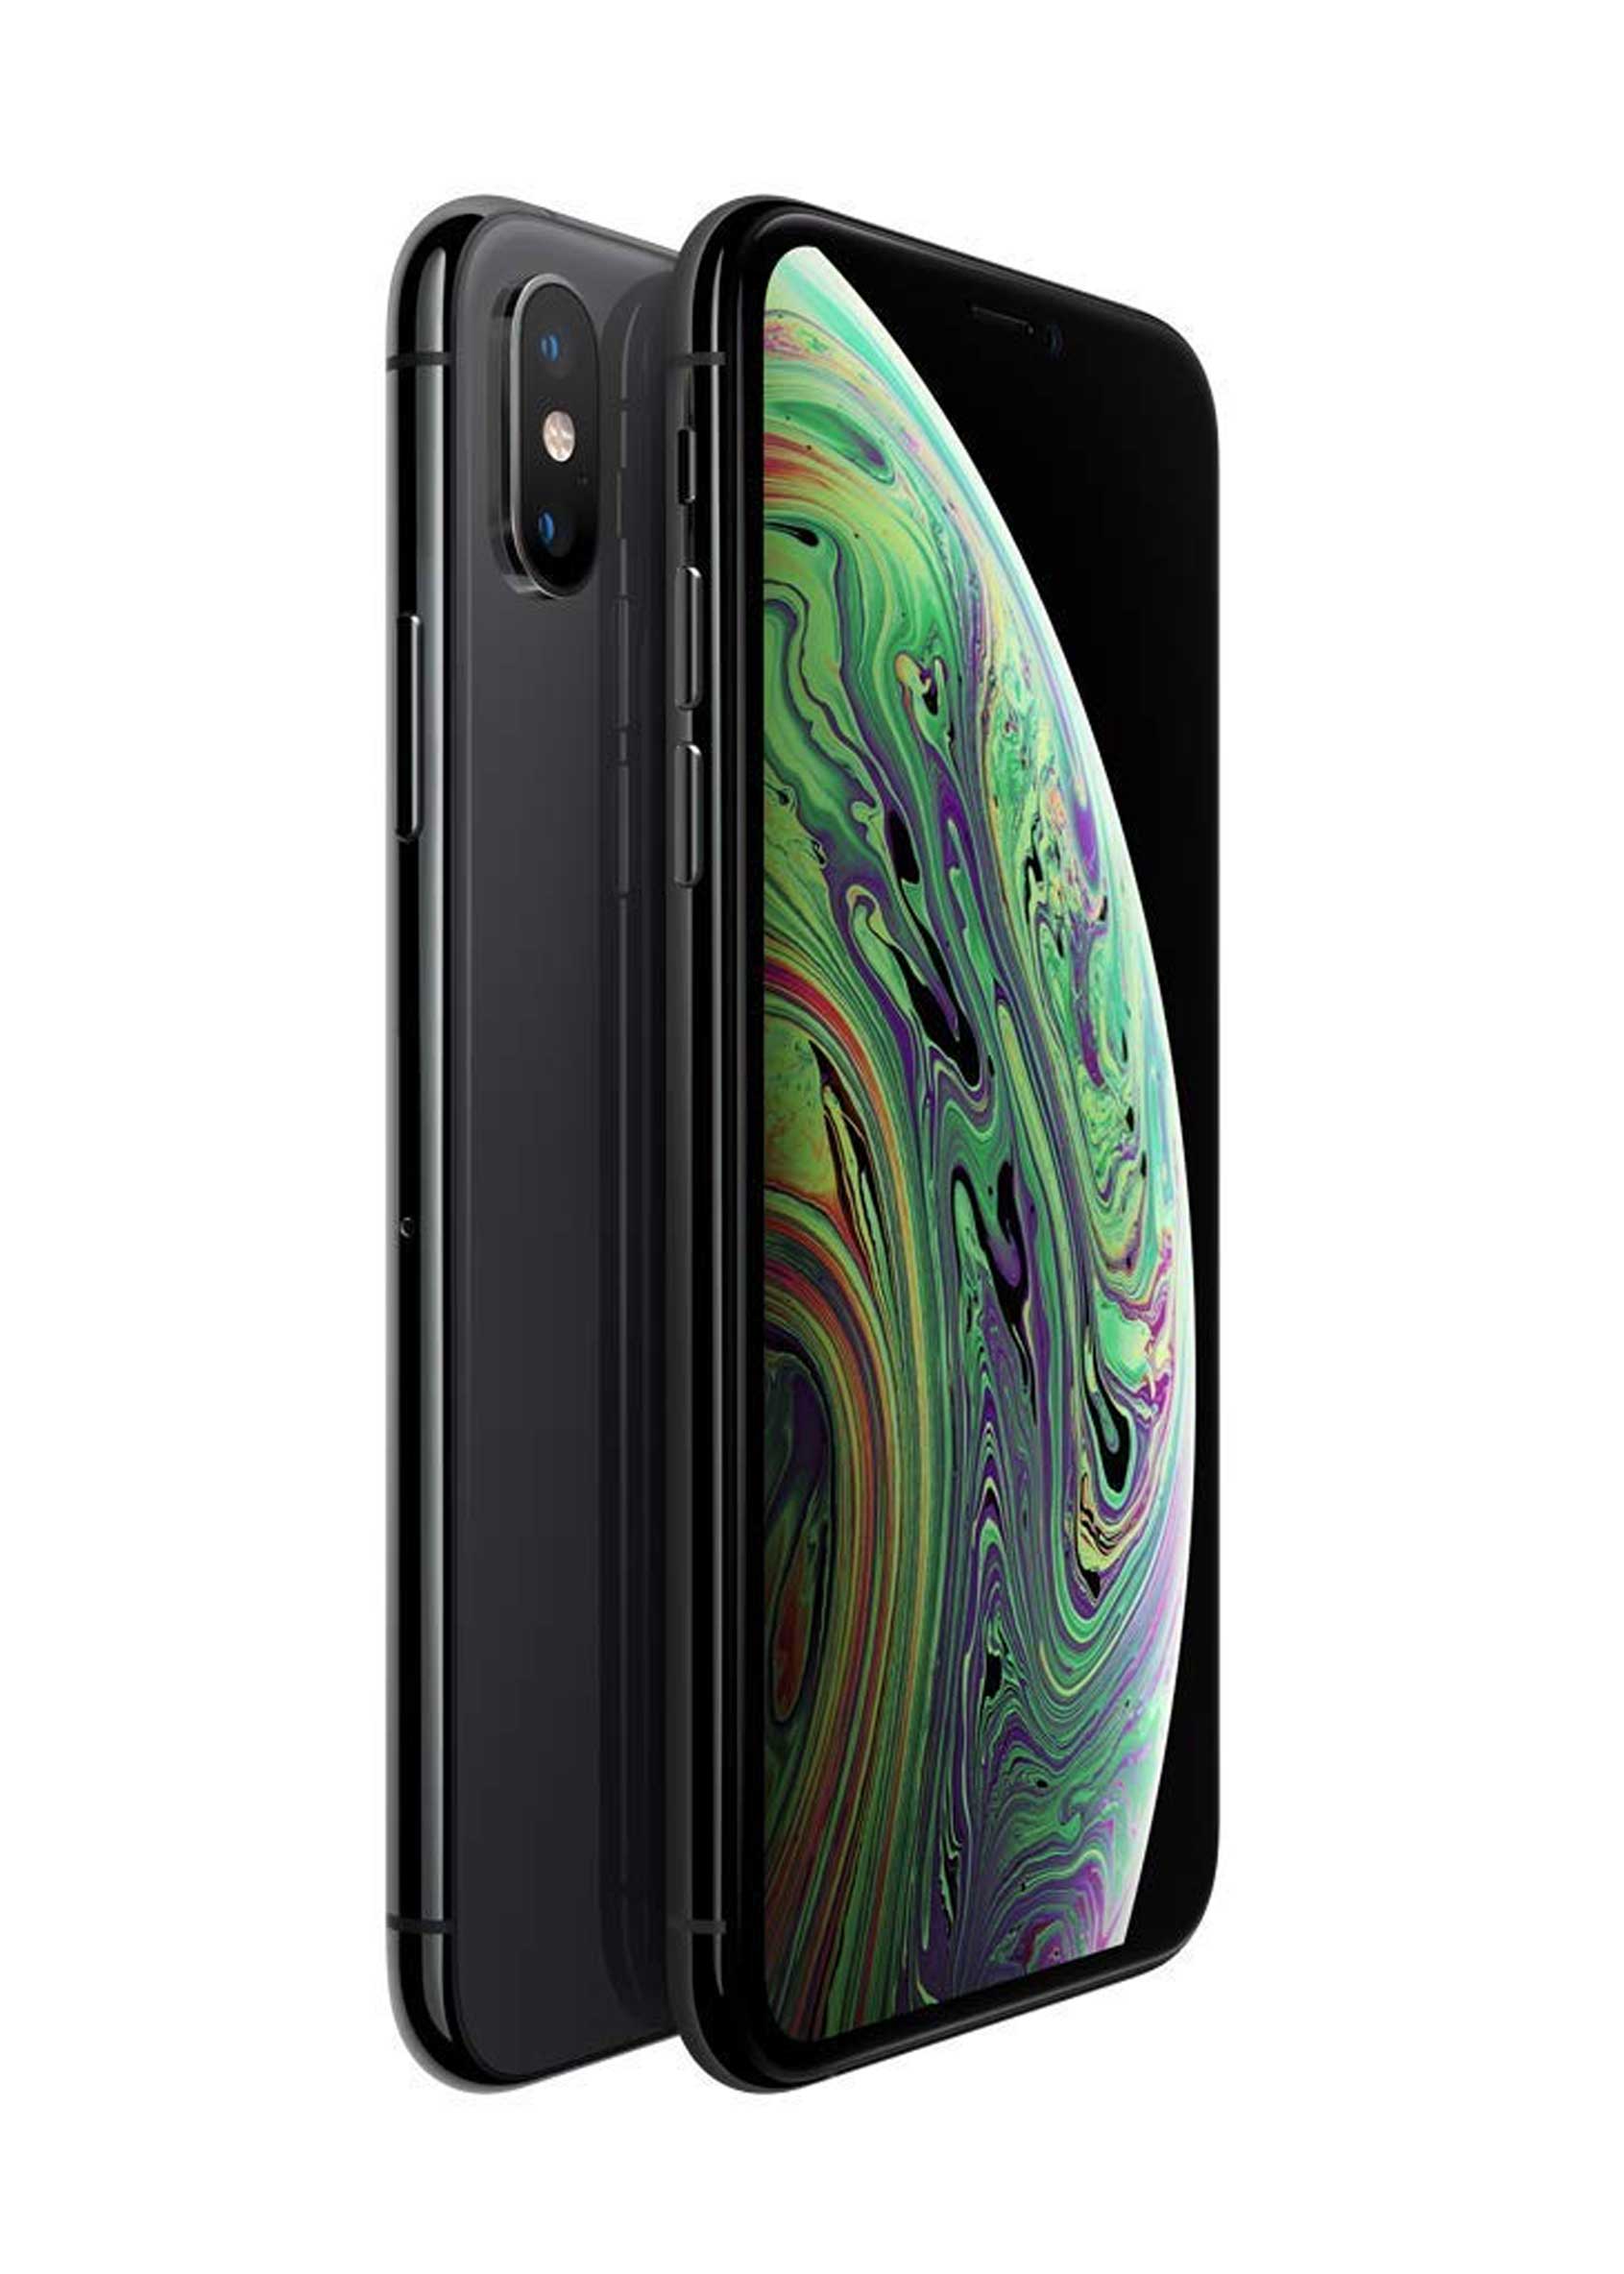
On some phones (e.g. iPhone 6S Plus or later), you can take Live Photos with the selfie camera; this takes a series of stills before and after you press the shutter.
When you take a Live Photo and open it in Photos, you can swipe between each still to find the best image – just make sure you choose one that is in focus, because the camera is often shooting while it’s trying to get a fix on you so some frames may be blurry. You can then turn off the Live feature on that particular photo so you only get the best bit. If you don’t have the Live Photos option, pressing and holding down on the shutter enables burst mode, which takes a series of images in close succession.
6. SHUTTER CONTROL
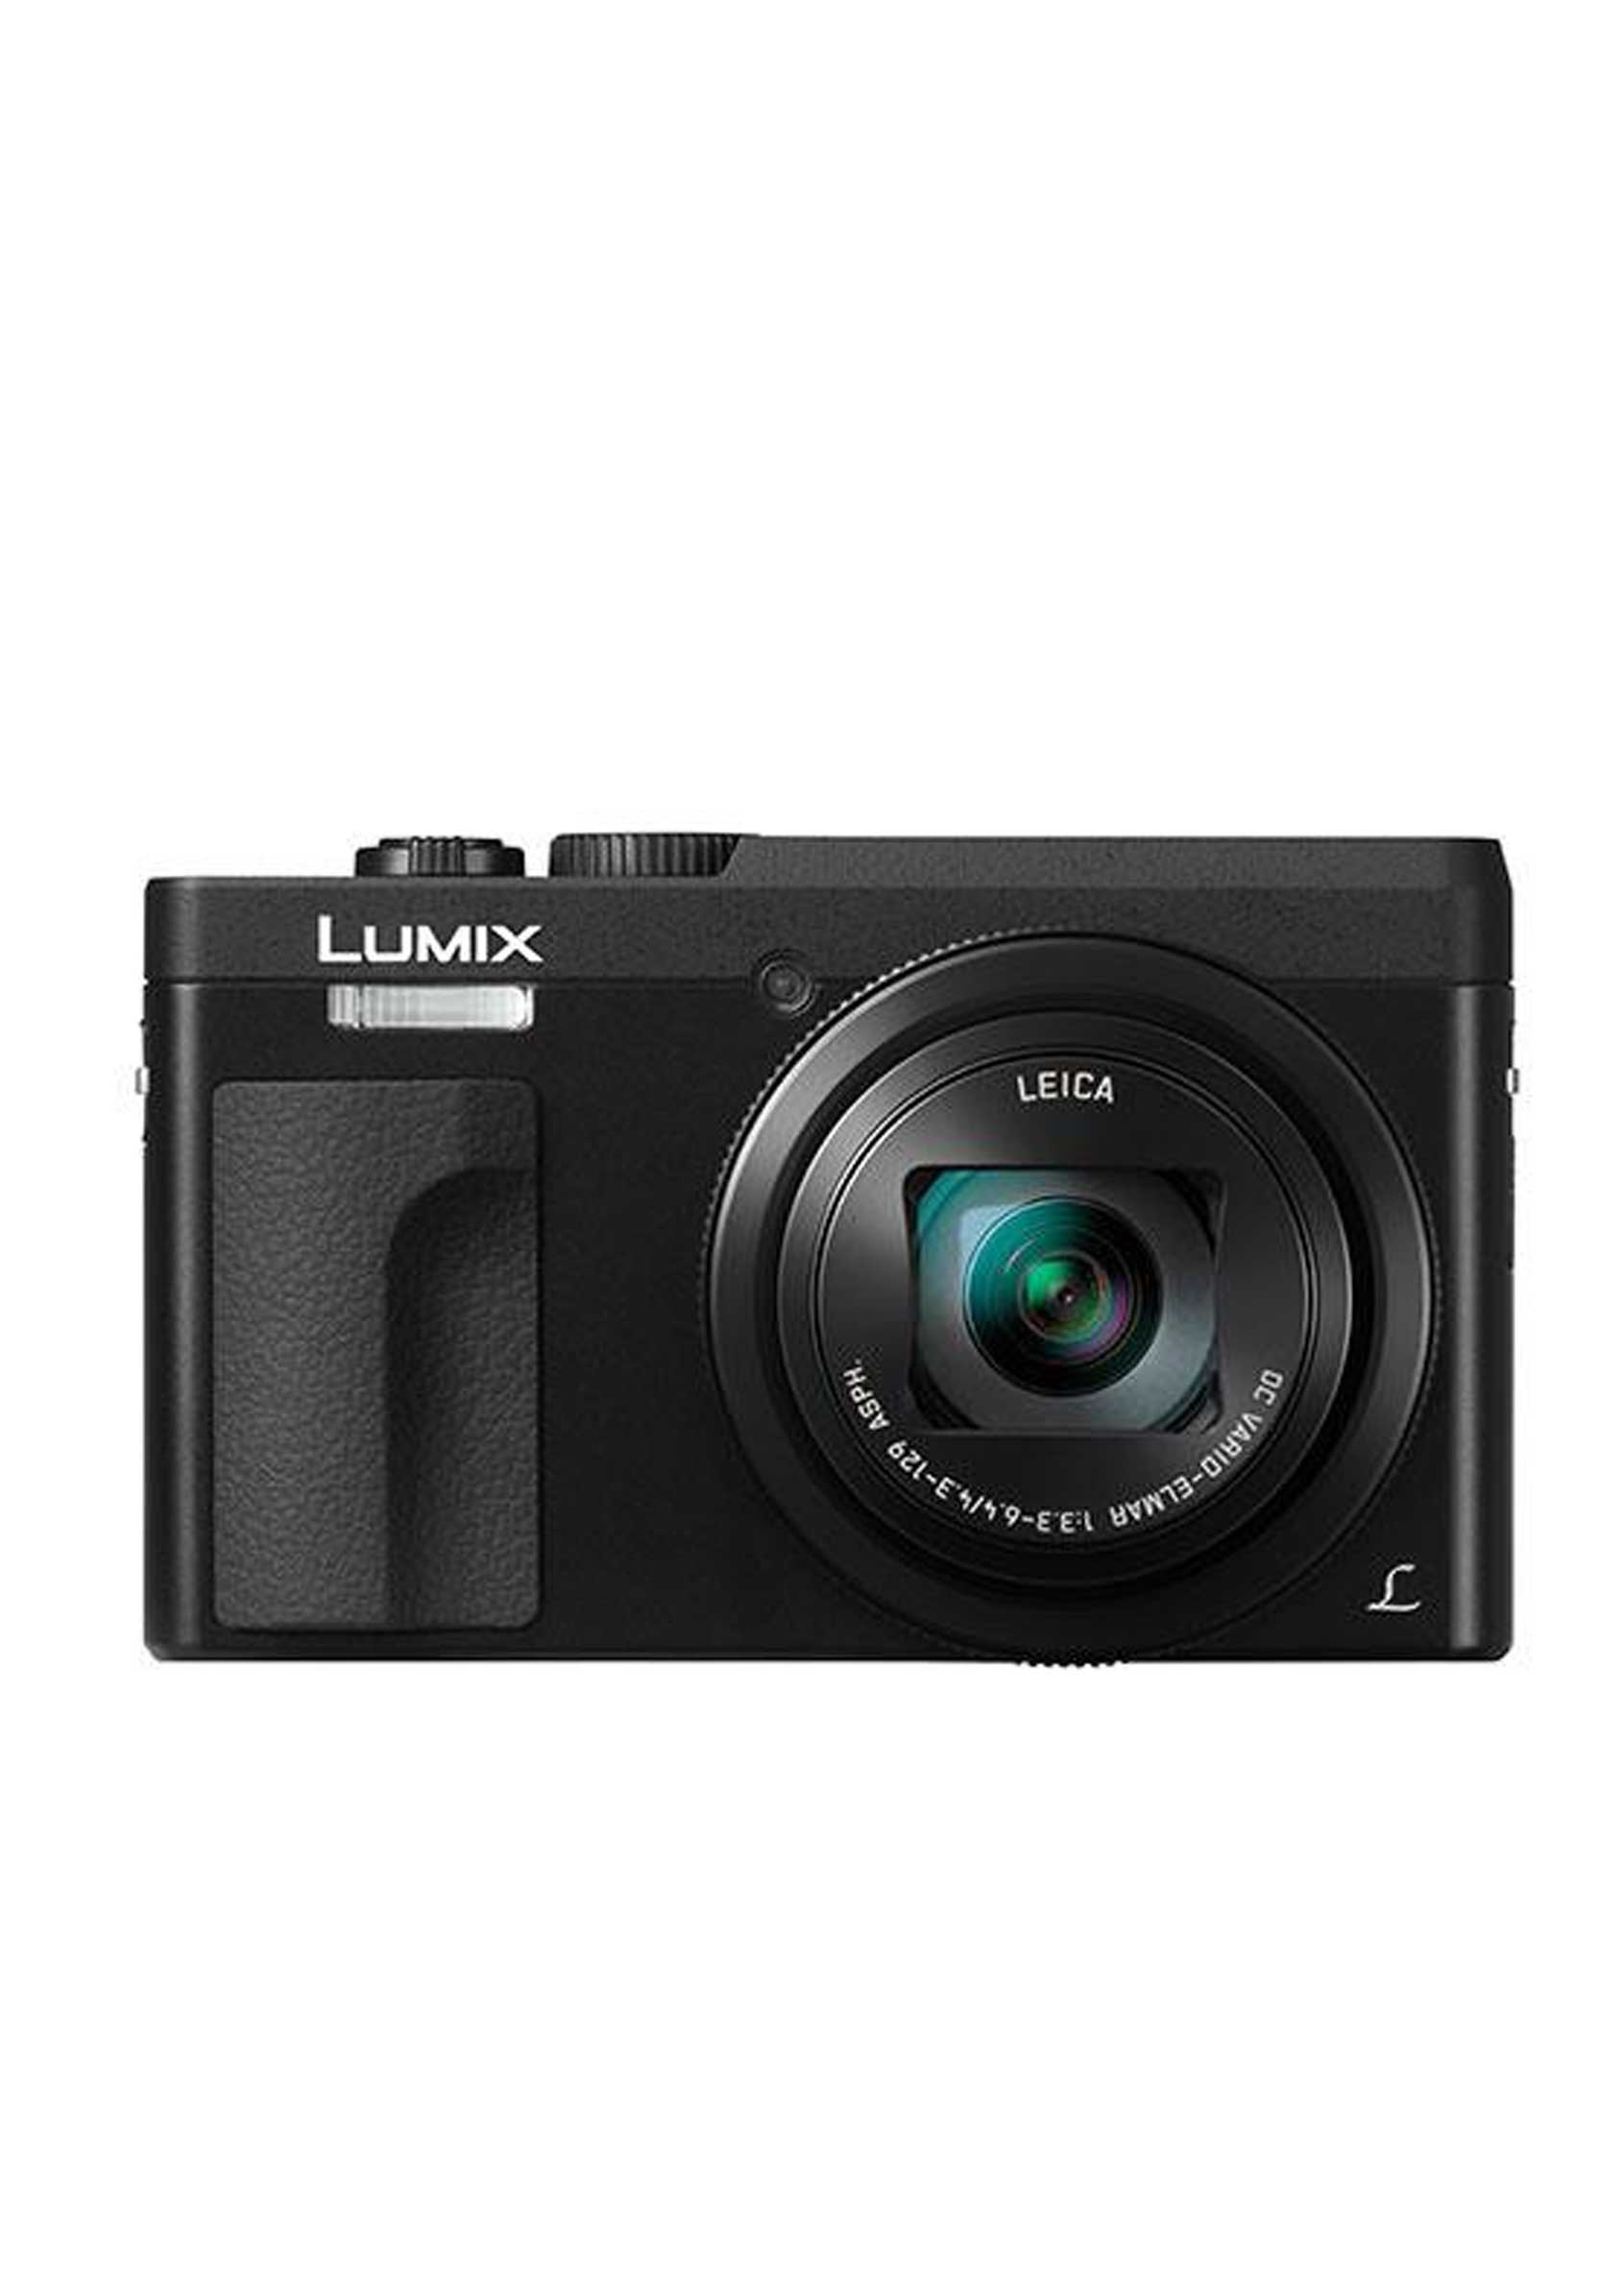
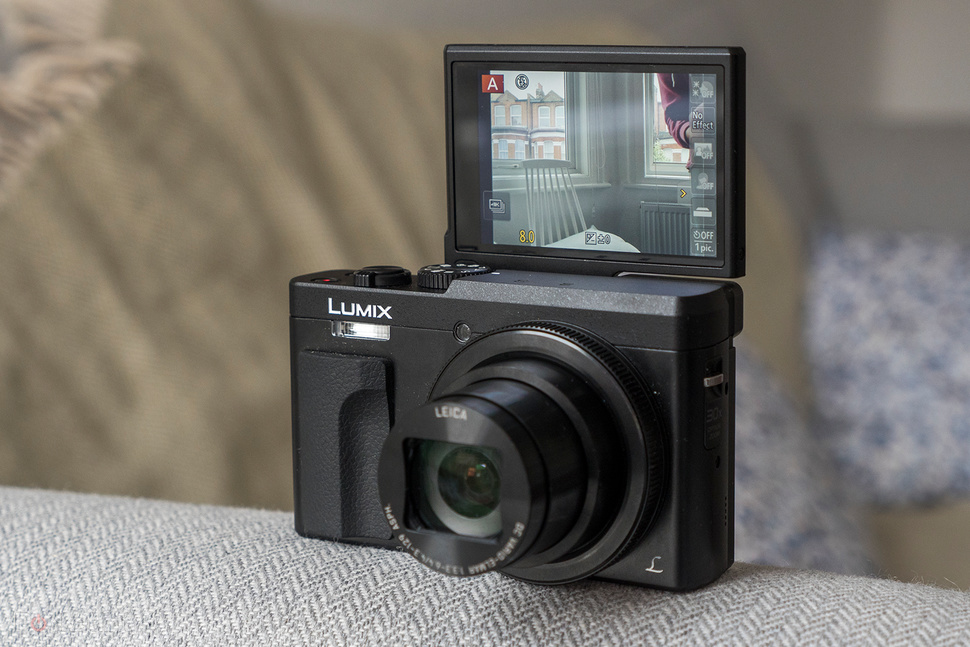
We’ve spoiled countless selfies by tapping the on-screen shutter and getting a blurry mess. Instead, use the innovative shutter triggers on the Panasonic Lumix-TZ90 as a shutter control – flip the screen 180˚ and it sets the camera to self-shot mode. You can trigger the camera by waving at it or use the ‘buddy trigger’ which takes a photo when the camera detects 2 faces next to each other.
Don’t forget the self-timer, either. It gives you time to relax and check your framing before the shutter clicks. The more stable your phone, the less likely you are to end up with blurry results. If you can and it doesn’t spoil the shot, hold the camera with two hands instead of one.
7. CROP IT
Open your Photos app to look at all the selfies you’ve already snapped and press Edit, tap the Crop icon and you can then free-rotate your image to get the best angle and crop out the bits you don’t want.
Additional background is fine for everyday photos but if you’re using your selfie elsewhere (for something like an online avatar) it’s better to crop out unnecessary detail. If you’re planning to take selfies that’ll be used for really small images it’s best not to have any background at all, so look for the most uncomplicated, light, non-reflective backdrops.
When you’re shooting for Instagram, shoot in square mode (one of the modes found by scrolling along the bottom of the selfie camera) to save having to crop.
8. COLOUR AND CONTRAST
You can adjust the colour in several ways using the Edit function in the Photos app mentioned earlier.
In here, you can use the predefined filters to warm or cool the colours; you can adjust the brightness and exposure and you can change individual parameters such as colour saturation and white balance. If all else fails, take a picture in black and white (especially good on a Huawei P20 Pro as it has a dedicated monochromatic lens) and whack up the contrast so it looks like a 1930’s ‘film noir’. That’s a good way of making backgrounds less distracting too.
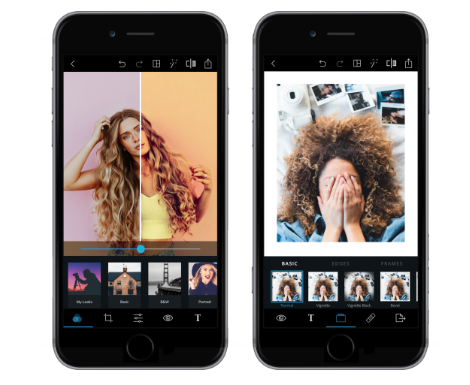
9. GET ON THE EXPRESS
Photoshop Express is a must-have app for selfie shooters on any phone; its automatic photo fixing is excellent, and its filters are even better. You can achieve some great results with a couple of taps, and you don’t lose the original when you save the new and improved version.
It can swap open eyes for closed ones, perform magic on any skin tone and generally prove that while the camera never lies, camera software can be a great big fact-alterer.
10. CHOOSE YOUR BEST ANGLE
We all have different bone structures so our most flattering angles will differ. That means you might not be able to pull off the same angles as your favourite celebrity (that doesn’t mean you can’t look cute too). You just have to discover which angles suit you best.
If your face is oval or diamond-shaped like Jessica Lowndes and Adam Levine, you’re likely to get away with any angle especially straight on. If your face is heart-shaped like Miranda Kerr’s and Jude Law’s, you’re best suited to turning your chin at a 45 degree angle away from the camera. The same goes if you are more square-shaped like Angelina Jolie and Tom Welling, or even round-shaped like Selena Gomez. No matter your face shape, always experiment with different angles.